Pairing a Solo reader
In order to initiate a payment on a Solo device using Cloud API, the device must be enrolled with the Merchant account. This enrollment process is what we call a Reader Pairing.
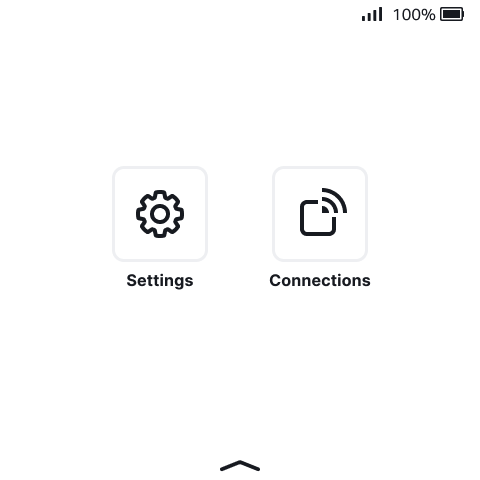
The pairing process starts on the device side by generating the pairing code.
Generating the Pairing Code
1. Turn on the Reader
2. Open the menu drawer

3. Go to Connections

4. Select API
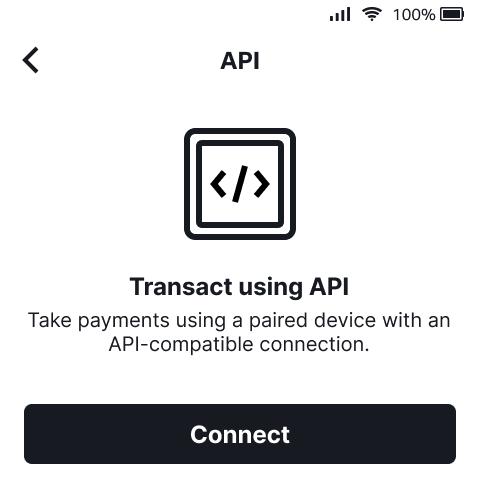
5. Tap on Connect
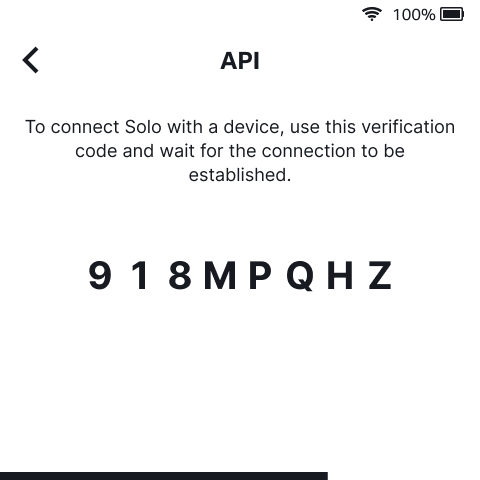
With the pairing code, proceed with Pair the Reader to the Merchant Account.
Pair the Reader to the Merchant Account
curl -X POST \
  https://api.sumup.com/v0.1/merchants/{merchant_code}/readers \
  -H 'Authorization: Bearer $SUMUP_API_KEY' \
  -H 'Content-Type: application/json' \
  -d '{
        "pairing_code": "918MPQHZ"
      }'
The response contains a JSON body with the details of the created reader resource. What you need to note in the response is the identifier of the resource - you will need it for all operations that you perform with the resource.
{
  "id": "rdr_3MSAFM23CK82VSTT4BN6RWSQ65",
  "name": "Frontdesk",
  "status": "processing",
  "device": {
    "identifier": "200100010001",
    "model": "solo"
  },
  "created_at": "2023-05-09T14:50:20.214Z",
  "updated_at": "2023-05-09T14:52:58.714Z"
}
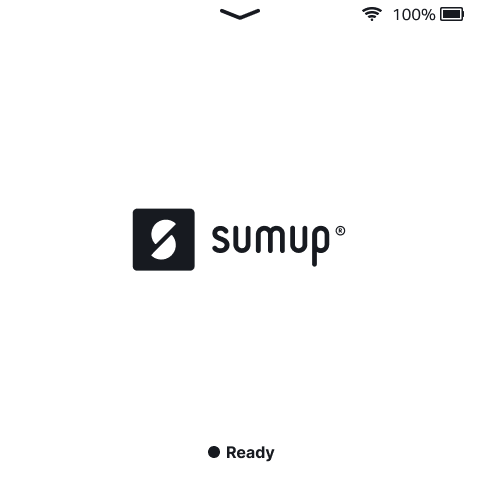
Wait for Confirmation
If the client successfully performed the previous steps, the device will show a confirmation screen:
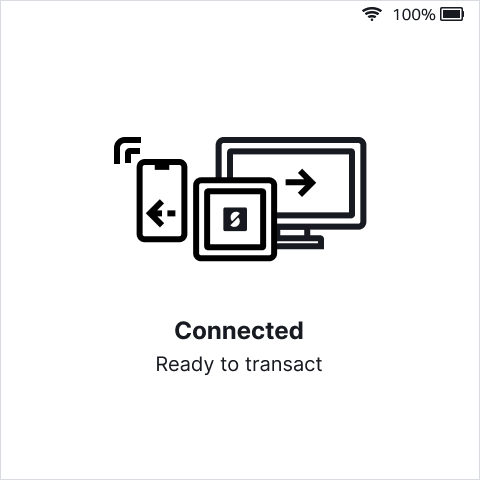
and transit to the Idle Screen:
Unpairing a Solo reader
In order to unpair a reader from the merchant account, two steps are required:
- Unlink Reader from the Merchant account (via Readers API);
- Disconnect Reader (manually via Solo)
Unlink Reader
curl -X DELETE \
  https://api.sumup.com/v0.1/merchants/{merchant_code}/readers/{id} \
  -H 'Authorization: Bearer $SUMUP_API_KEY'
Diconnect Reader
1. Open the menu drawer
2. Go to Connections
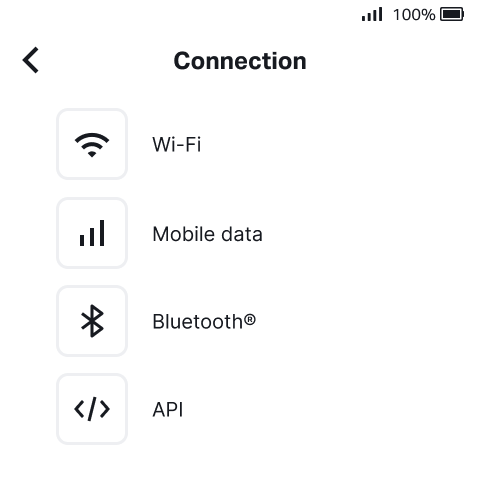
3. Select API
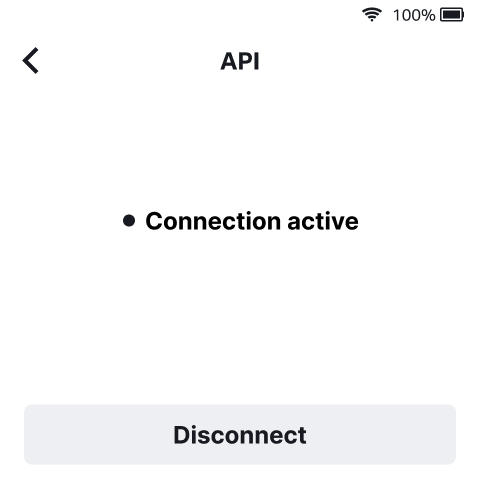
4. Tap on Disconnect
Your Solo device is now disconnected.